Flowrabbit's canvas offers two different ways to view the application you are working on: The Design view and the Logic view.
Design View
What is the Design View and how do I enter it?
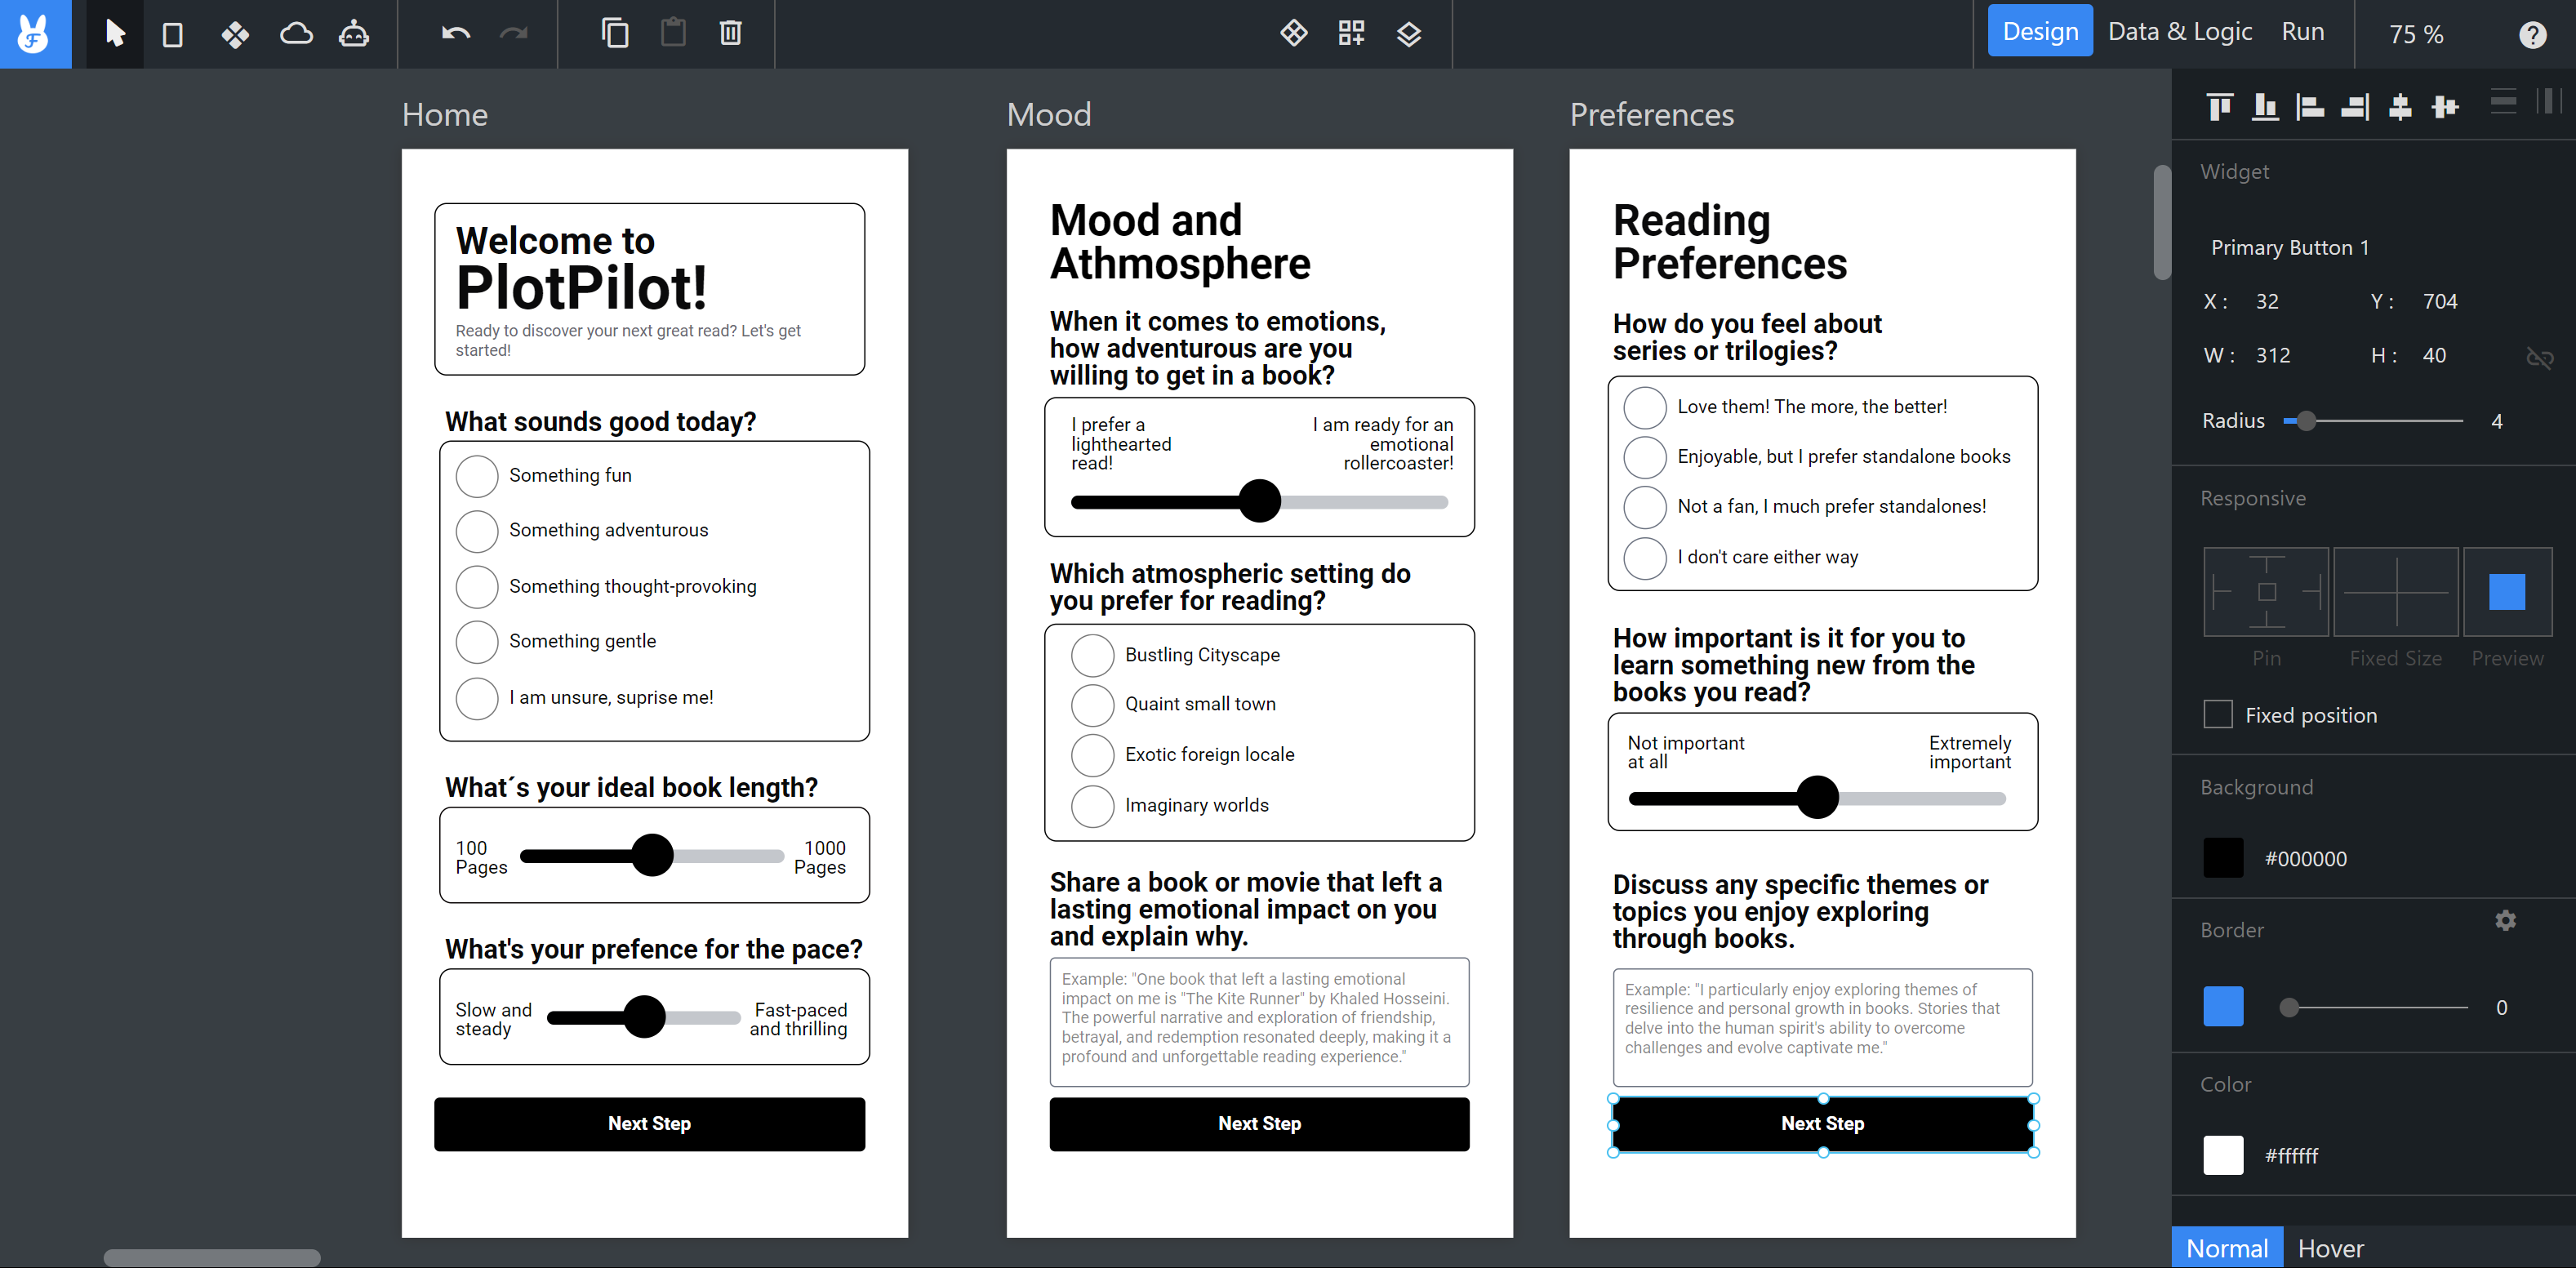
The Design view is the default view in which your application is shown when your open it or create a new application. To change back to the Deisgn view once you´ve entered the Logic view you can click on the "Design"-Button in the topbar, near the right side of the screen. (On smaller screens the "Design"-Button will be replaced by an icon of a pen in front of a page)
What can I use the Design View for?
The Design view allows you to work on the visual aspects of your application. While you can add screens, components and widget in both views, the Design View is where you can work on their appearance. Use the buttons on the left side of the topbar to add screens or components, select an element and then adjust their visual properties in panel on the right side.
Logic View
How do I enter the Logic View?
You can enter the Logic View by clicking on the "Data & Logic"-Button in the topbar, near the right side of the screen. (On smaller screens the "Data & Logic"-Button will be replaced by an database-icon)
What is the Logic View?
The Logic viewis where you defines the interaction between the screens and elements (components or widgets). In this view, you can see and create the links between the screens. You can also customize certain dynamic properties of input elements, e.g., form validation and data binding.
How can I use the Logic View?
An example use of the Logic View is defining screen transitions. A transition is triggered when the user performs a certain action, for instance, clicks on a button or performs a screen gesture. You can create screen transitions by selecting and element and dragging its handle to the target screen. To learn more, have a look at the example below or read the Links chapter.